Enabling DTLS
Overview
Datagram Transport Layer Security (DTLS) is a communications protocol that provides security for datagram-based applications by allowing them to communicate in a way that is designed to prevent eavesdropping, tampering, or message forgery. The DTLS protocol is based on the stream-oriented Transport Layer Security (TLS) protocol and is intended to provide similar security guarantees.
Zixi supports DTLS encryption and identity authentication. This feature can be used in conjunction with static key AES scrambling for end-to-end encryption.
DTLS encryption can be configured on any Input or Output UDP port on the Zixi Broadcaster. This feature is activated and configured in the Settings screen. A DTLS server is configured using certificate and private key files in X.509 PEM format, similar to the files used to enable an HTTPS server.
To enable DTLS encryption:
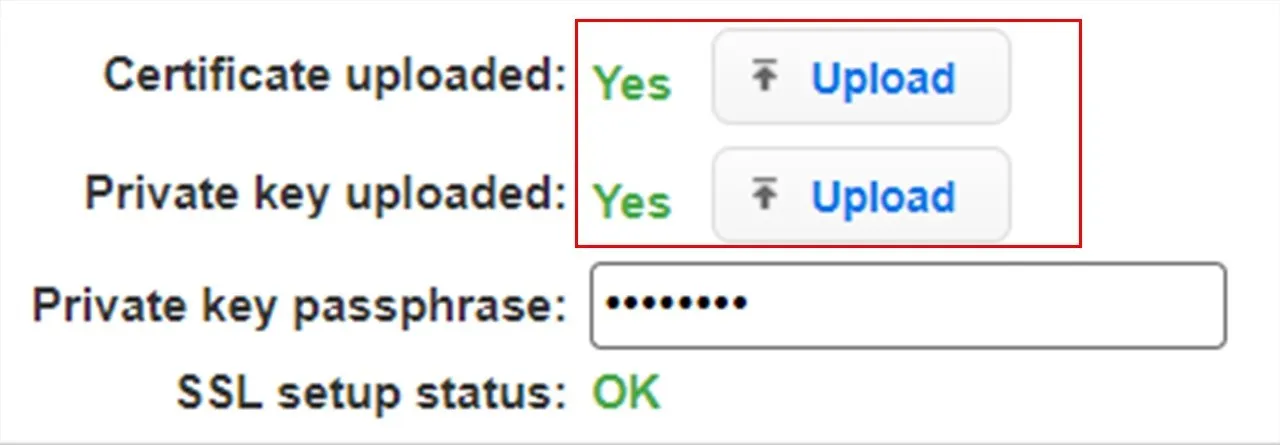
In the Zixi Broadcaster navigation, click Settings. The Settings page opens showing the General tab.
Under the General section, click on the HTTPS and DTLS Streaming Certificate section heading to expand that section. The HTTPS and DTLS Streaming Certificate settings are shown.
Next to the Certificate uploaded field, click Upload.
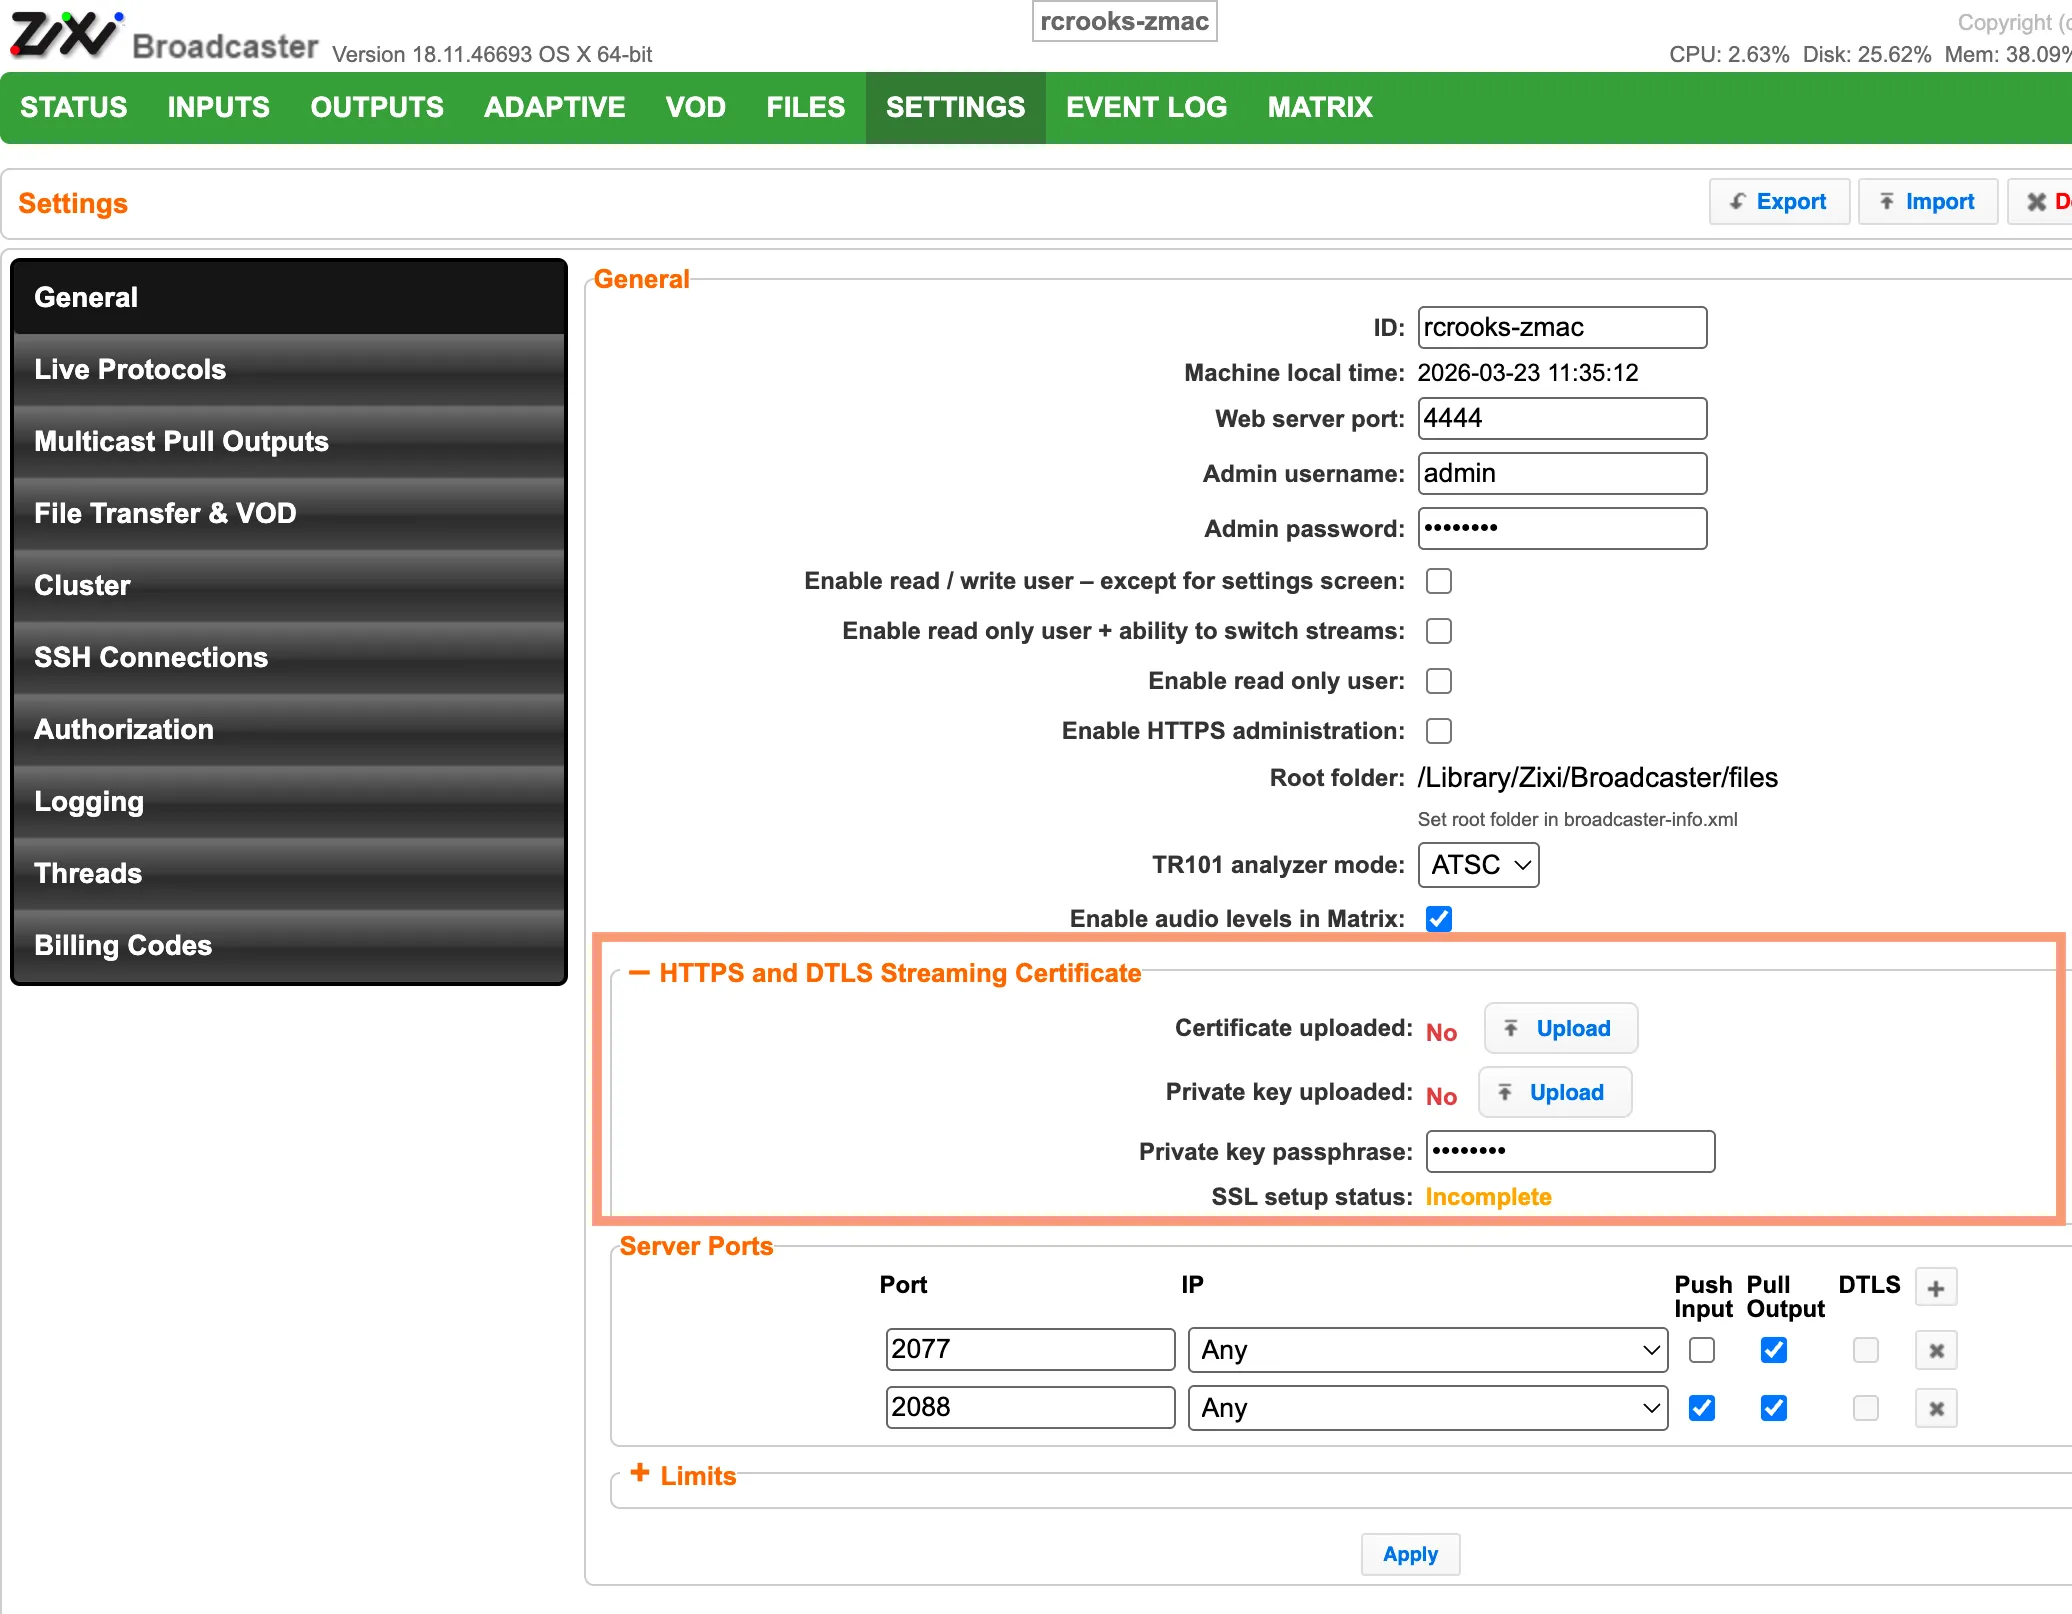
Browse to find your certificate file, select it and click Open.
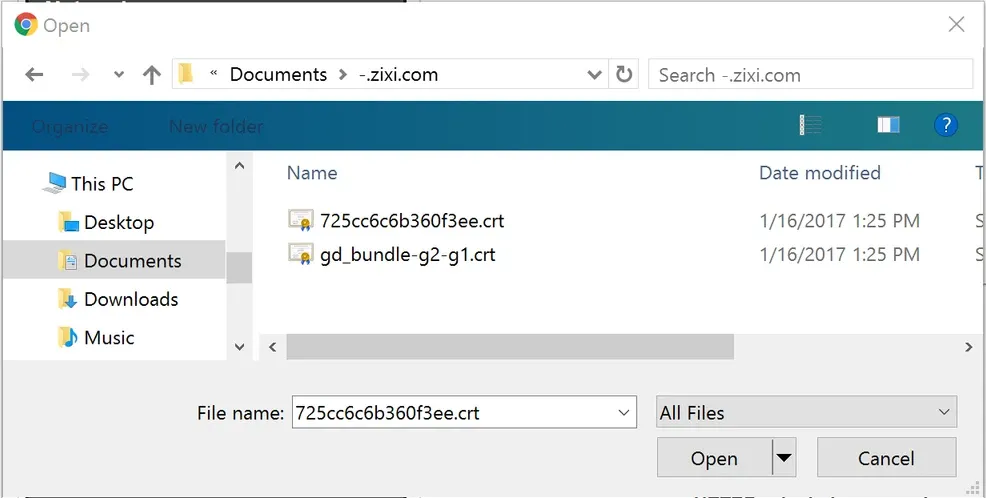
In the Private key uploaded field, click Upload.
Browse to find your private key file, select it and click Open.
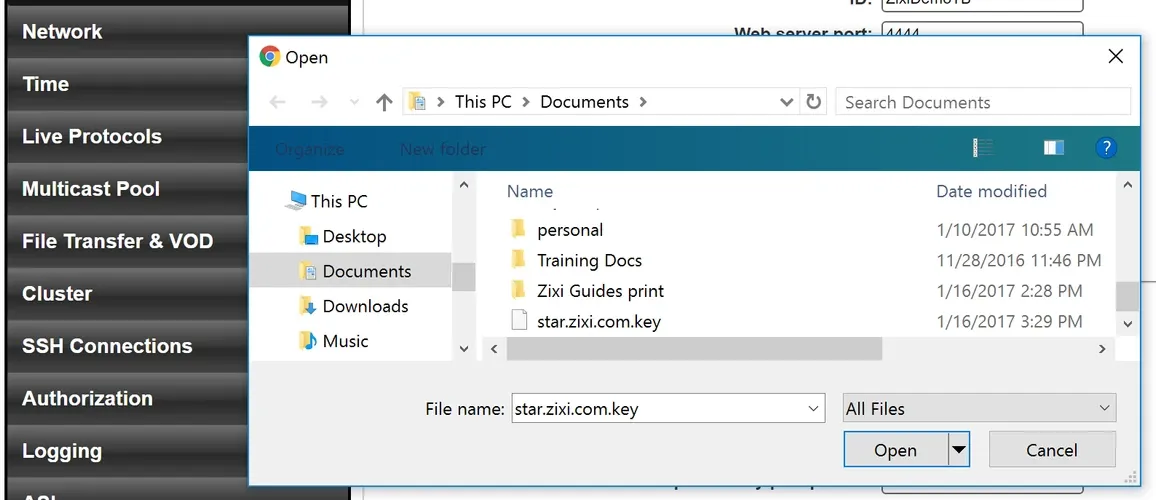
In the Private key passphrase field, type a passphrase, if one exists.
Verify that there is a green Yes next to both Upload buttons.
Any LIVE or ACTIVE streaming will be affected upon restarting the service.
Click Restart Now or Restart Later.
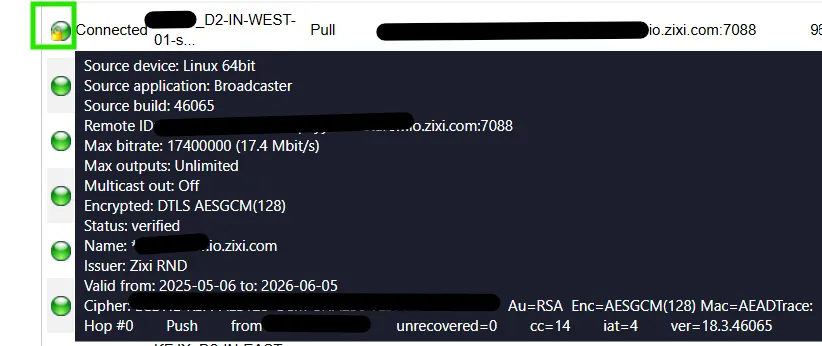
You can verify DTLS status on your streams in 2 ways:
- There will be a gold lock on the green connected status icon
- When you mouseover the green connected status icon, an informational popup will present the DTLS certificate issuance information including expiration.
Creating a Self-Signed Certificate
There are various ways to obtain SSL/TLS certificates, but for a standalone Broadcaster, you can also create a self-signed certificate using OpenSSL. OpenSSL may already be installed on your system, but if not, you can see a list of av available binaries to install at https://github.com/openssl/openssl/wiki/Binaries.
During the creation of your certificate, you will be prompted for the following information:
- A passphrase for the certificate - be sure to remember what it is!
- The two-letter code for your country (such as US or FR) - if you don't know the code, you can look it up at: https://knowledge.digicert.com/general-information/ssl-certificate-country-codes
- The full state or province name within that country (such as Massachusetts)
- The locality name, typically a city such as Boston
- Organization name, such as Zixi
- Organizational unit name, such as Documentation
- Your name or a fully qualified domain name (FQDN), such as zixi.com
- Your email address
Once OpenSSL is installed, you can create a certificate by running a command like this:
// sample command - see OpenSSL help for options
// note that the pem files will be created in the directory where you run this command
openssl req -x509 -newkey rsa:2048 -keyout selfsigned_key.pem -out selfsigned_cert.pem
After the PEM files are created, you can upload them and enter the passphrase in the Broadcaster settings as described above.