Example: API keys with Roles and Tags
Control User Permissions with Roles and Tags
In this example, we'll create an API key that allows read-only access privileges to a specific group of Sources.
Step 1: Create a Tag
First, we'll create a Tag that can be assigned to ZEN Master objects.
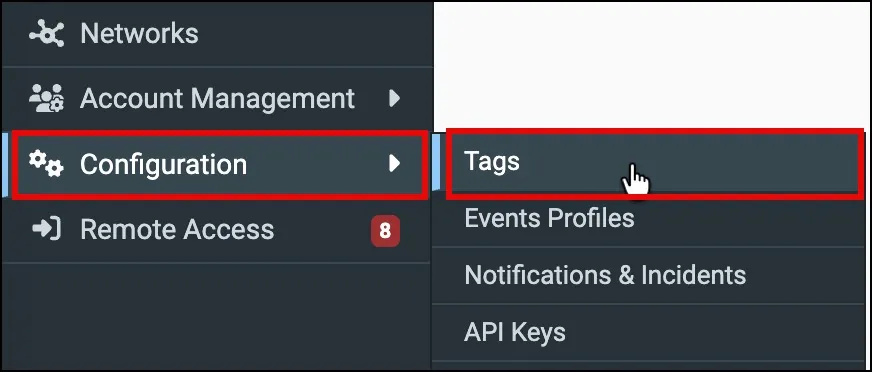
In the left navigation, select Configuration > Tags.
Select +Add to create a new Tag.

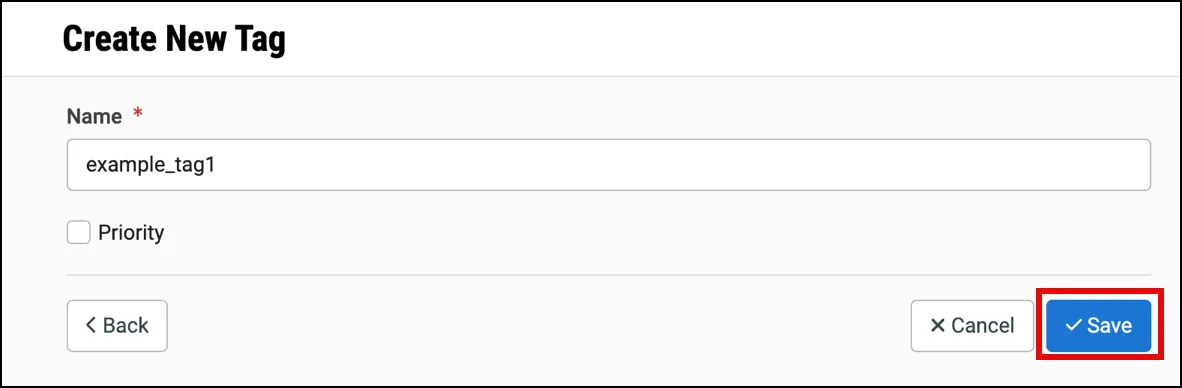
Give the Tag a name and select Save.
Step 2: Create an API key
Next, we'll create an API key.
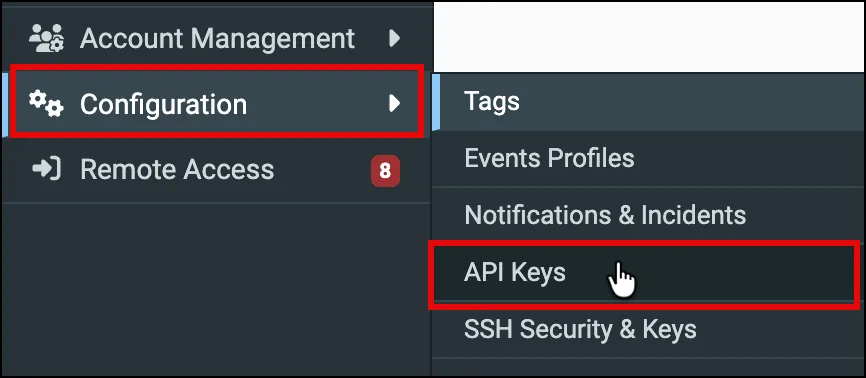
In the left navigation, select Configuration > API Keys.
Select +Add Key to create a new API key.
In the Create New API Key page:
- Enter a name for the API key.
- Set the expiration date or leave the default.
- Leave the other options unchecked/unselected.
Since the Read only, Account Administrator, and Administrator options override the Roles persmissions, leave them unchecked.
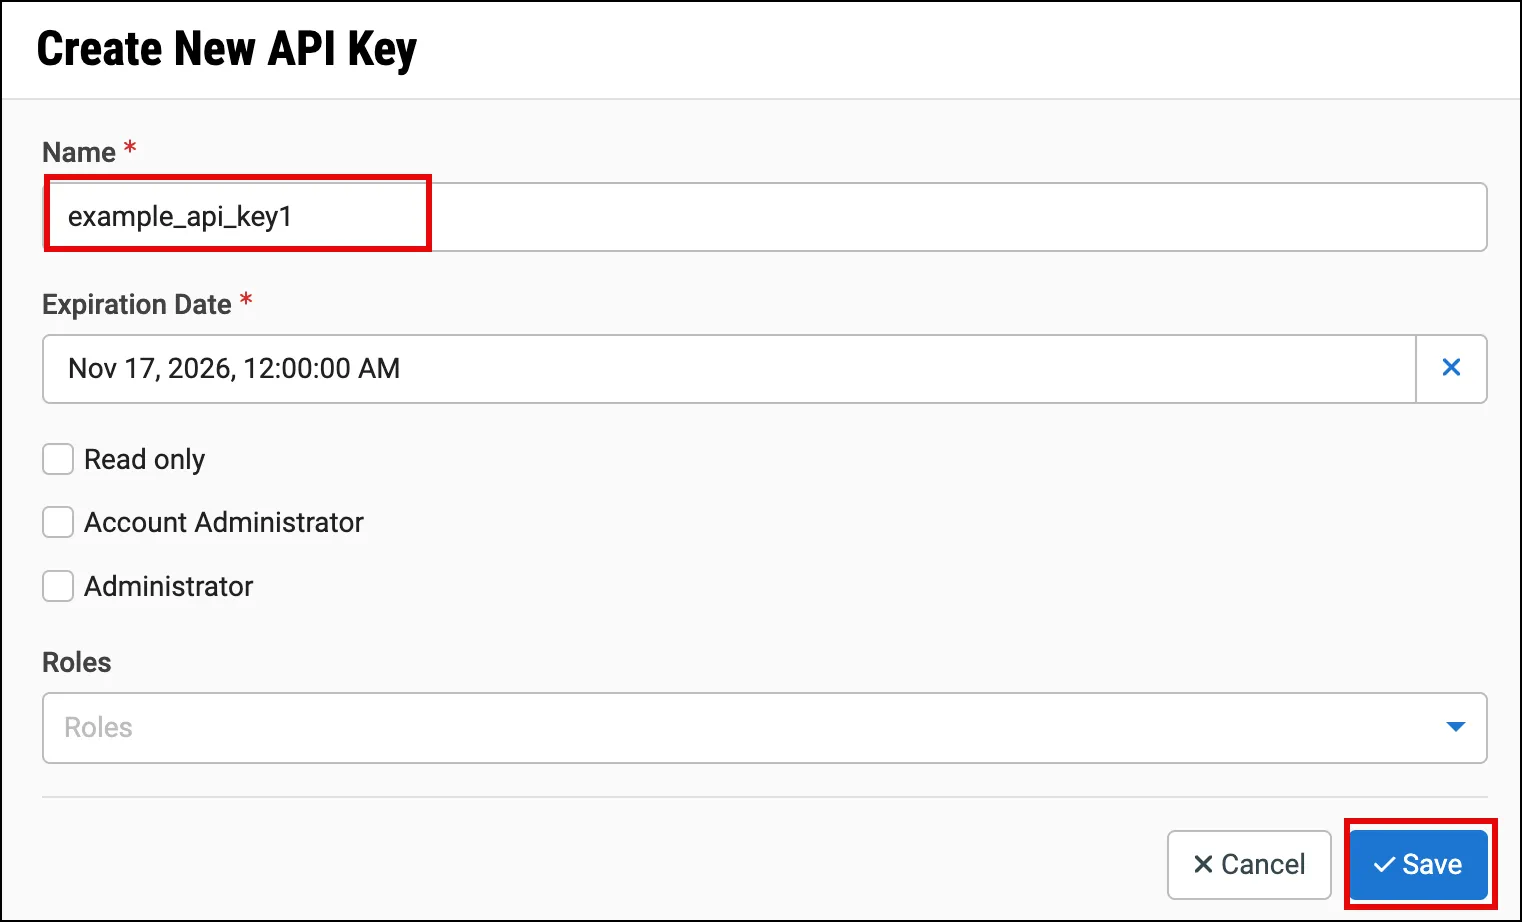
Click Save to create the API key.
Step 3: Create a Role
With a Role, we can select user permissions for object types.
In the left navigation, select Account Management > Roles.
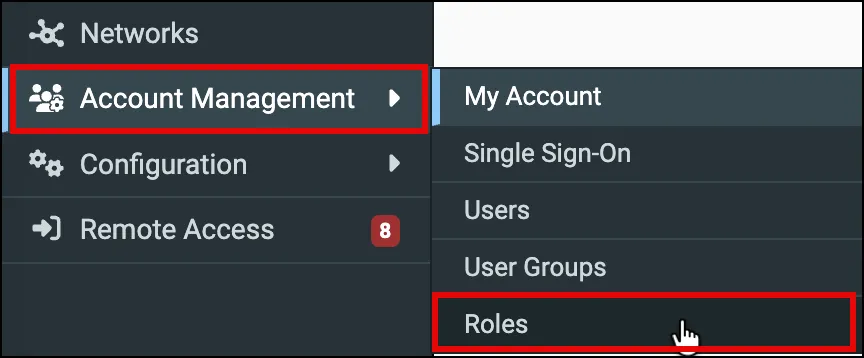
Select +Add to create a new Role.
In the Create New Role page:
- Enter a name for the Role.
- Select the Tag that we created in Step 1.
- For Permissions, select the checkbox for Source.
- Select the API key that we created in Step 2.
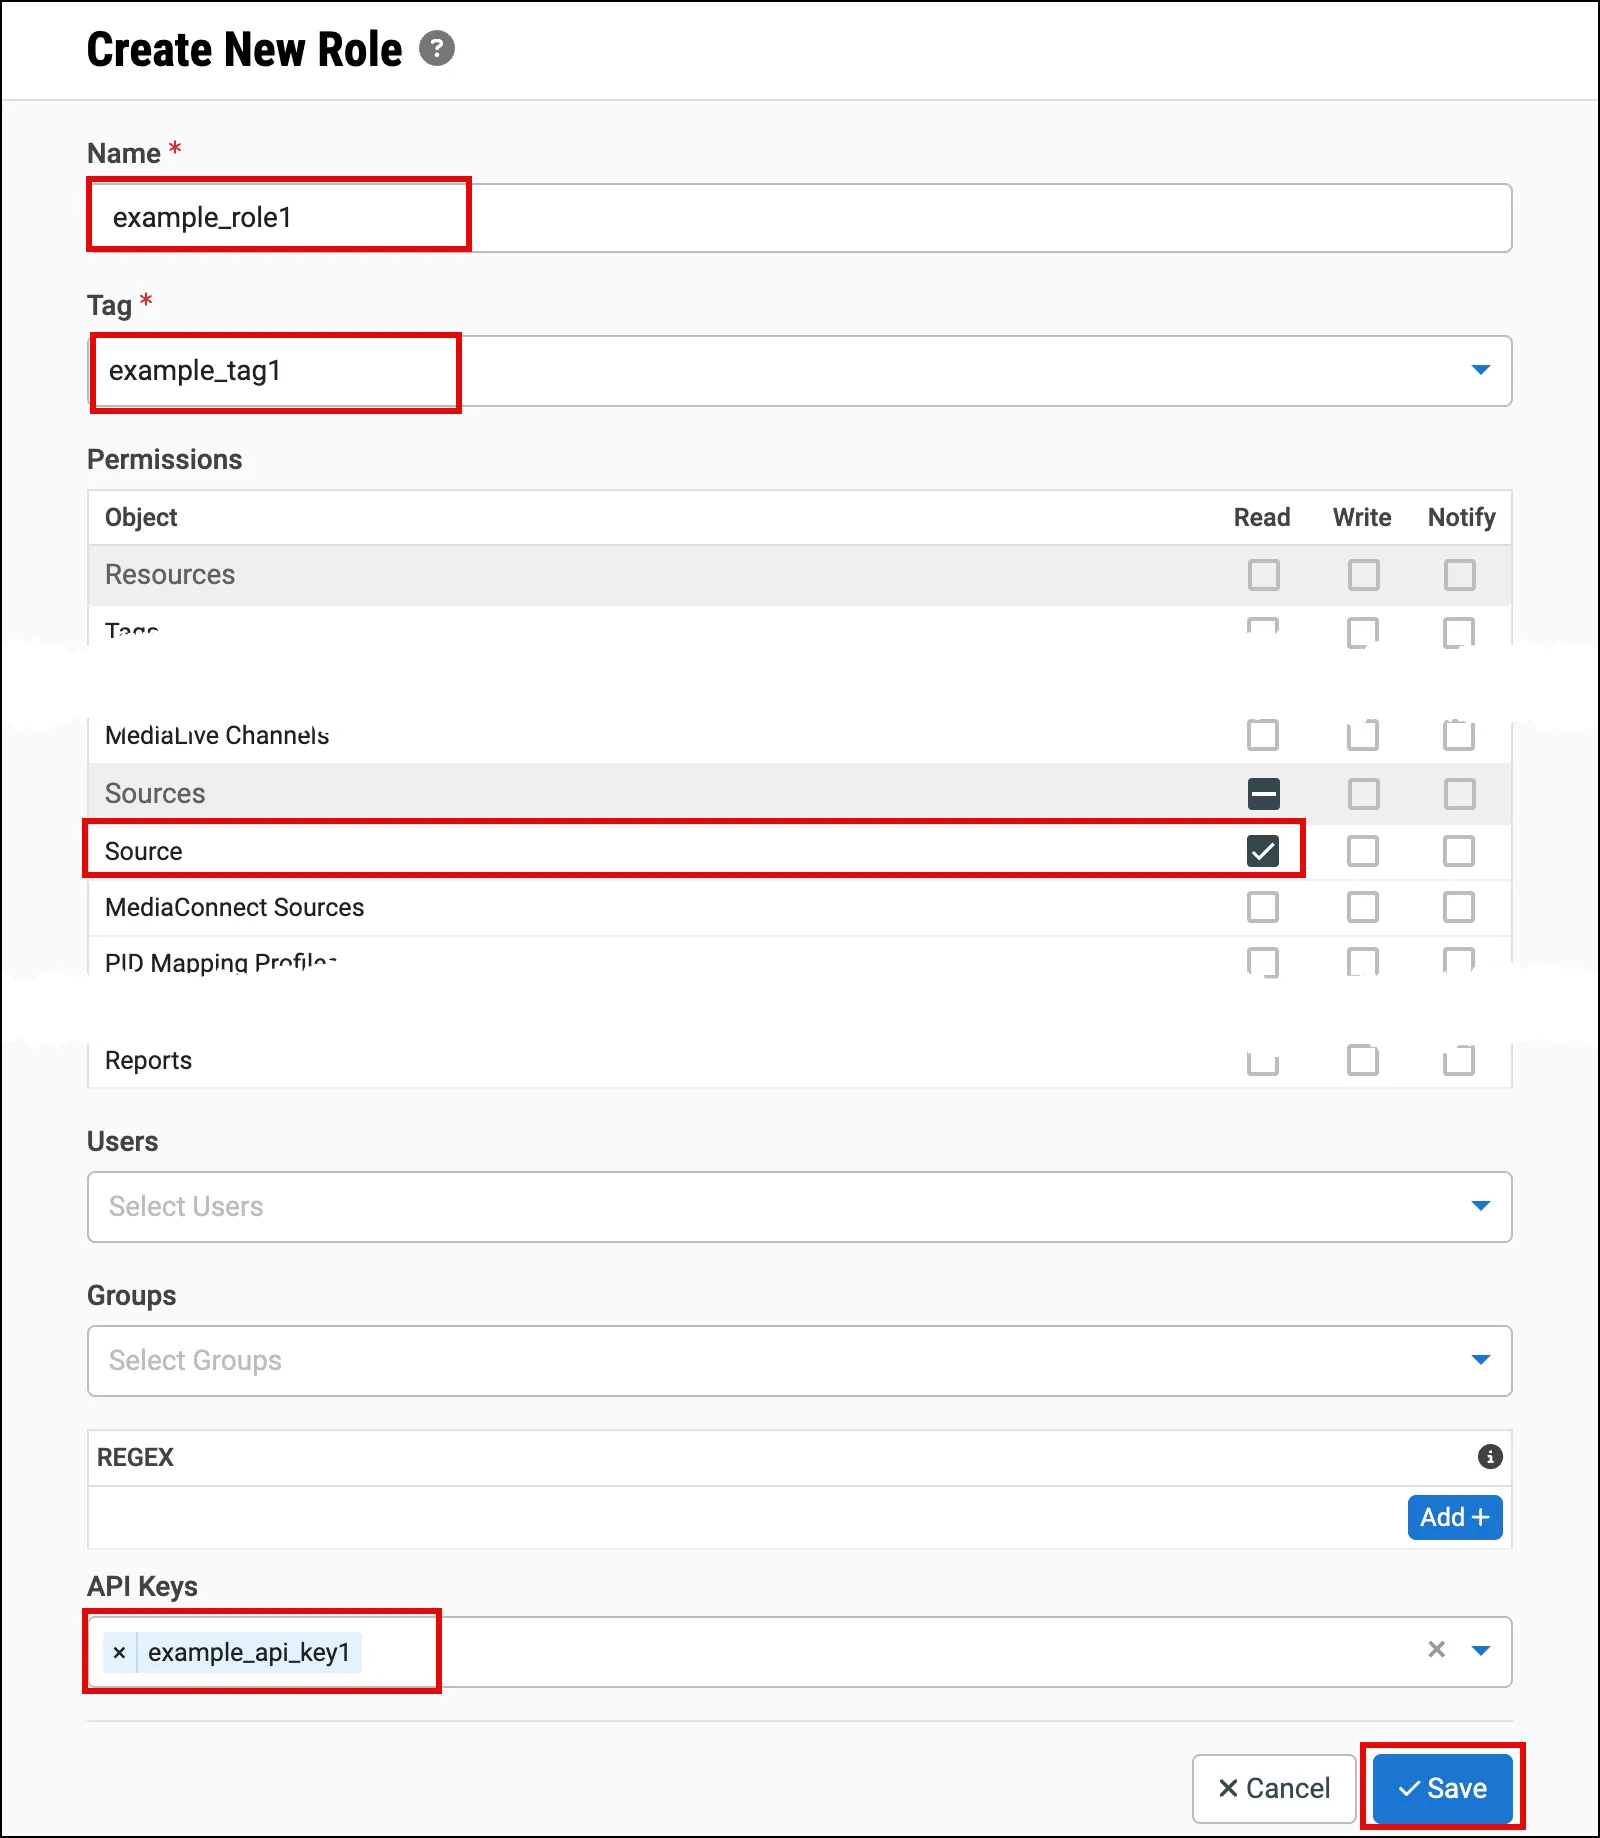
Click Save to create the Role.
Step 4: Add Tag to Sources
Now, we can add our Tag to the Sources that we want to give read access to for our API key.
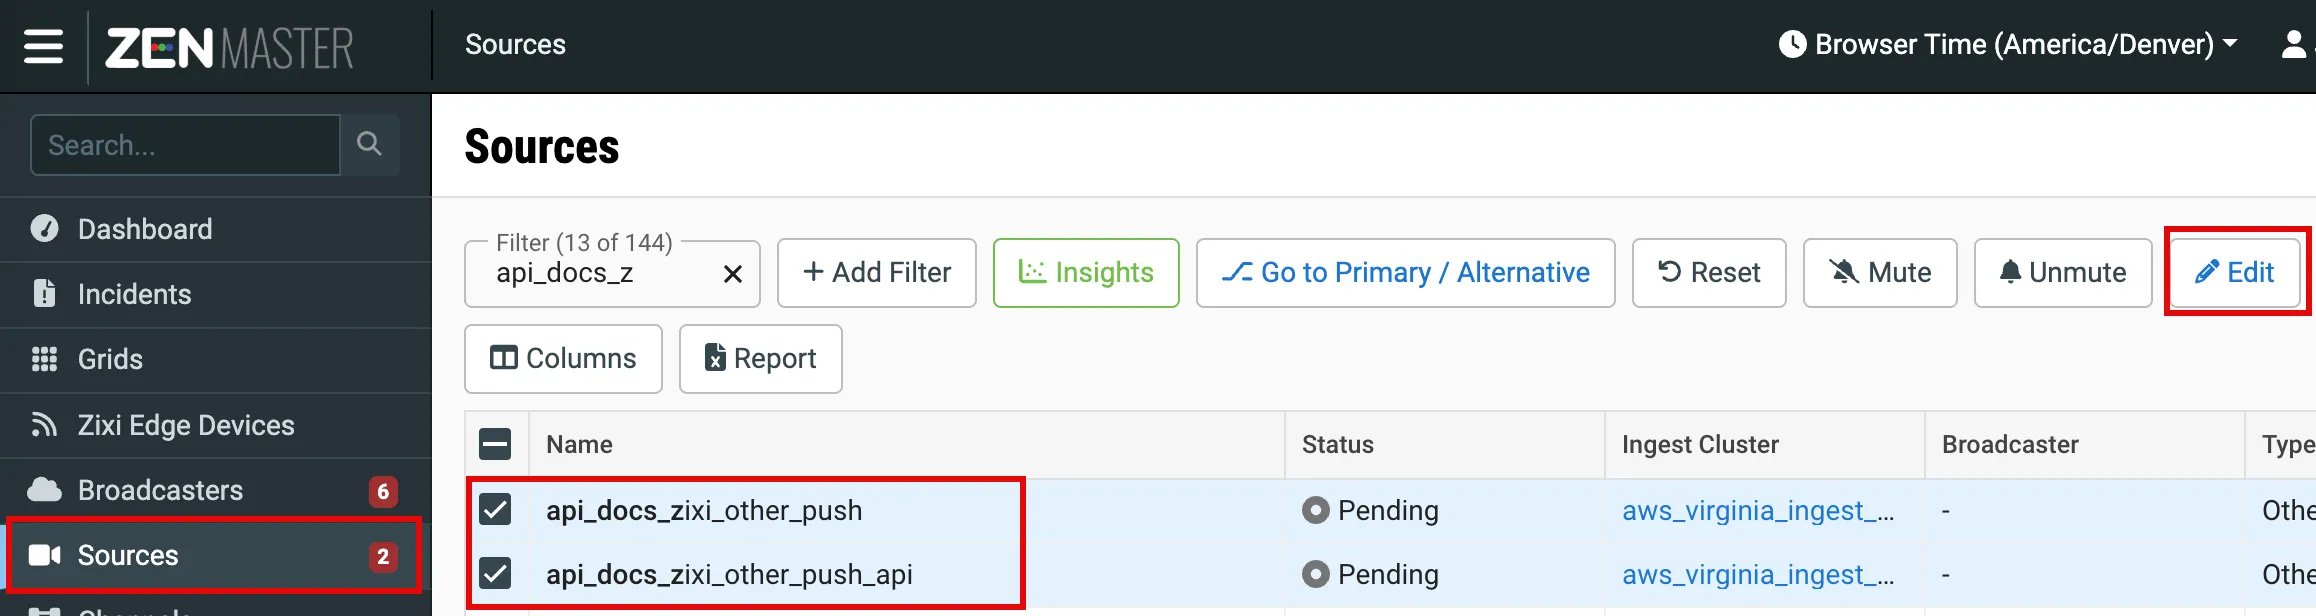
In the left navigation, select Sources.
Select the Sources that you want to grant read access for the API key, and click Edit.
In the Edit Sources page:
- Select the checkbox to update Tags.
- Select Add to add our new Tag without overwriting or removing any existing Tags.
- From the dropdown menu, select our new Tag.
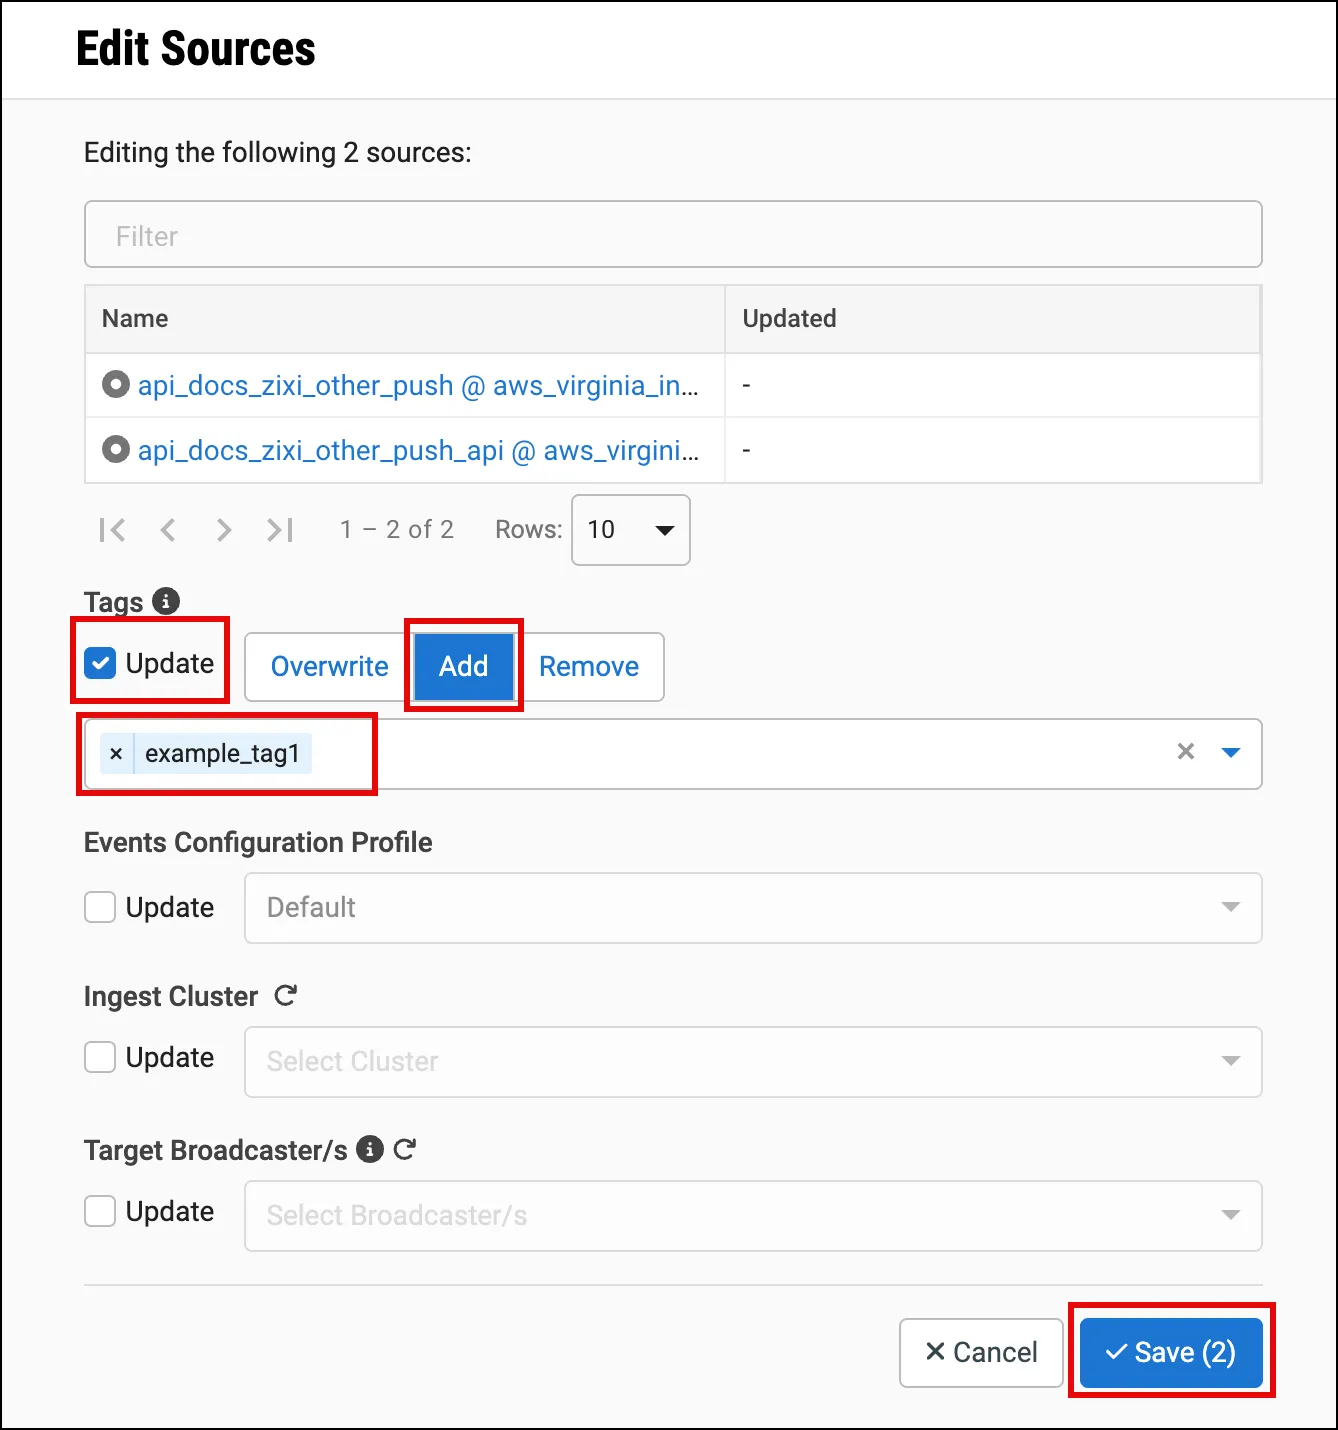
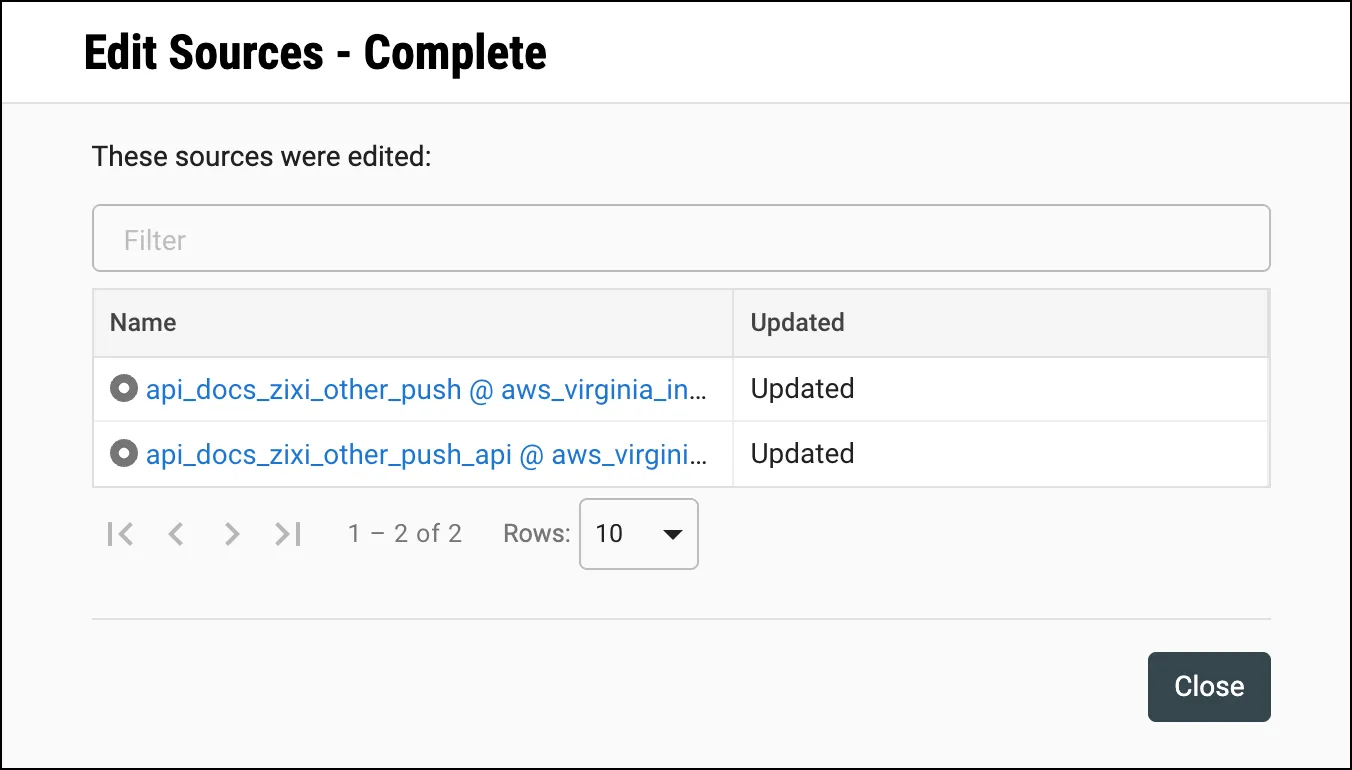
Click Save. The multi-edit dialog should confirm that each selected Source has been updated.
Step 5: Using the API key
Let's test our API key persmissions by making a request to the ZEN Master API.
The new API key grants the API Caller read permission only for the Sources that share the key's assigned Tag and Role.
Send a GET API request to list all Sources.
curl --location 'https://api.zen.zixi.com/v2/sources' \
--header 'x-api-key: <your api key>' \
--header 'Accept: application/json'The API response should only contain the two Sources that we tagged.
{
    "success": true,
    "result": [
        {
            "id": 12345,
            "name": "api_docs_zixi_other_push",
          ...
        },
        {
            "id": 12346,
            "name": "api_docs_zixi_other_push_api",
          ...
        }
    ]
}Since we only have read access to two Sources, we will not be able to read other objects. Send a GET API request to list all ZECs.
curl --location 'https://api.zen.zixi.com/v2/zecs' \
--header 'x-api-key: <your api key>' \
--header 'Accept: application/json'The API response will be 200 OK, but the result will be empty.
{
    "success": true,
    "result": []
}With only read access, we will not be able to create, update, or delete any objects. Send a POST API request to create a new Source.
curl --location 'https://api.zen.zixi.com/v2/sources' \
--header 'x-api-key: <your api key>' \
--header 'Content-Type: application/json' \
--header 'Accept: application/json' \
--data '{
  "name": "api_docs_zixi_other_push",
  "broadcaster_cluster_id": 4444,
  "target_broadcaster_id": -1,
  "resource_tag_ids": [
    11
  ],
  "autopull_latency": 1000
}'The API response will be an Unauthorized error.
{
    "success": false,
    "error": "Unauthorized"
}